Sample Shino Tier Videos
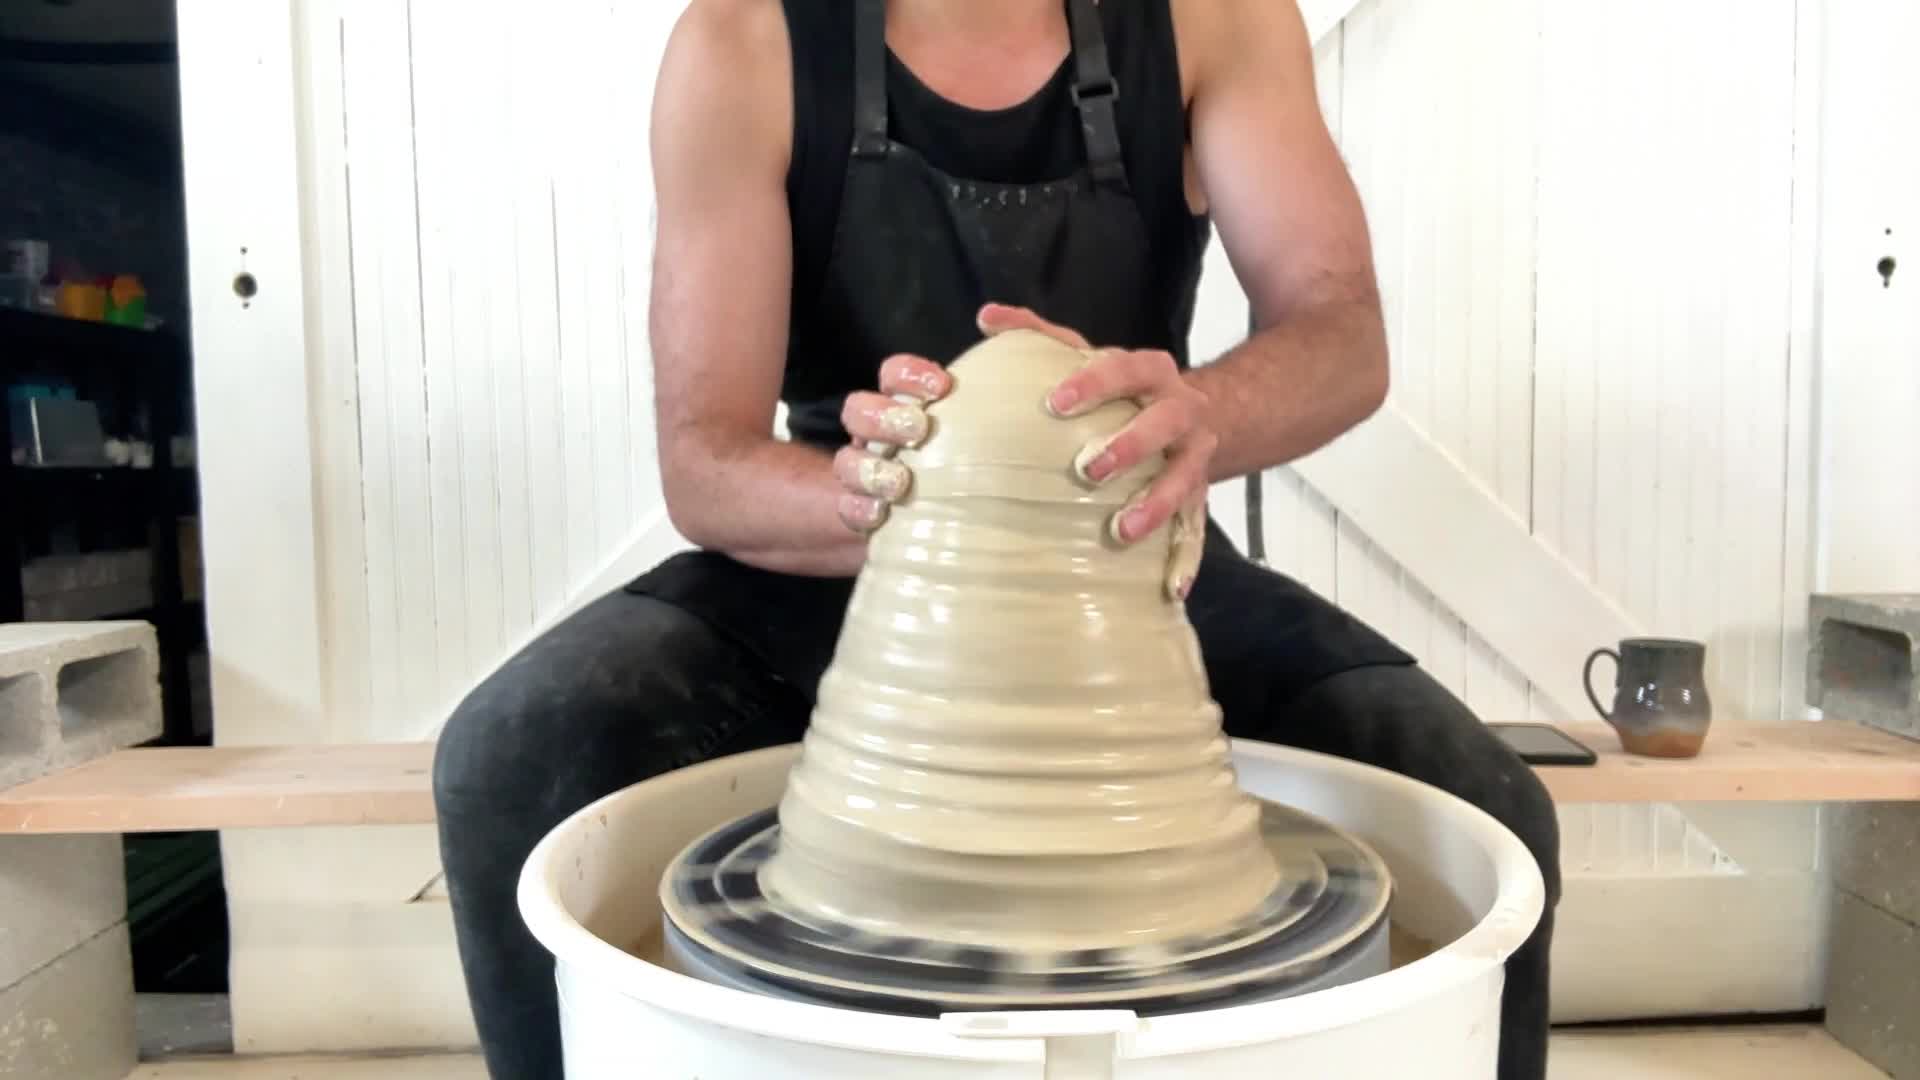
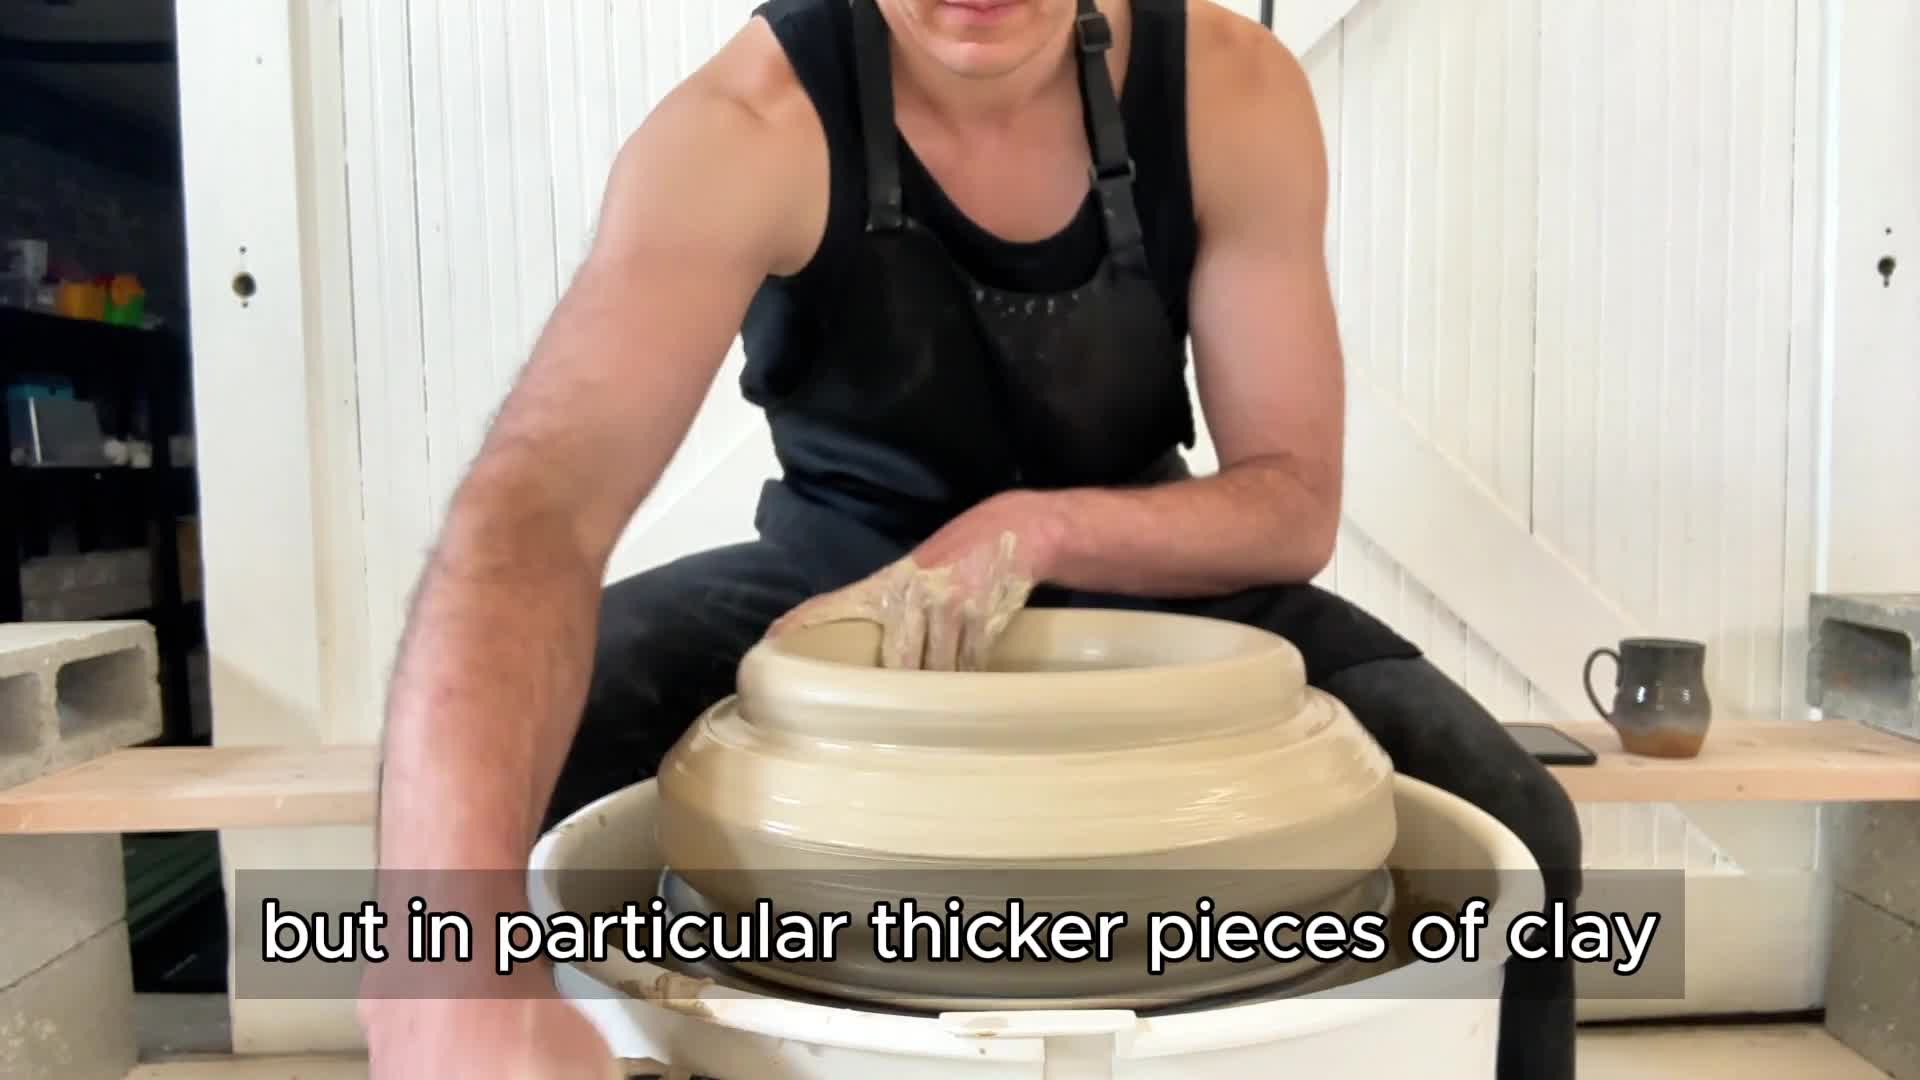
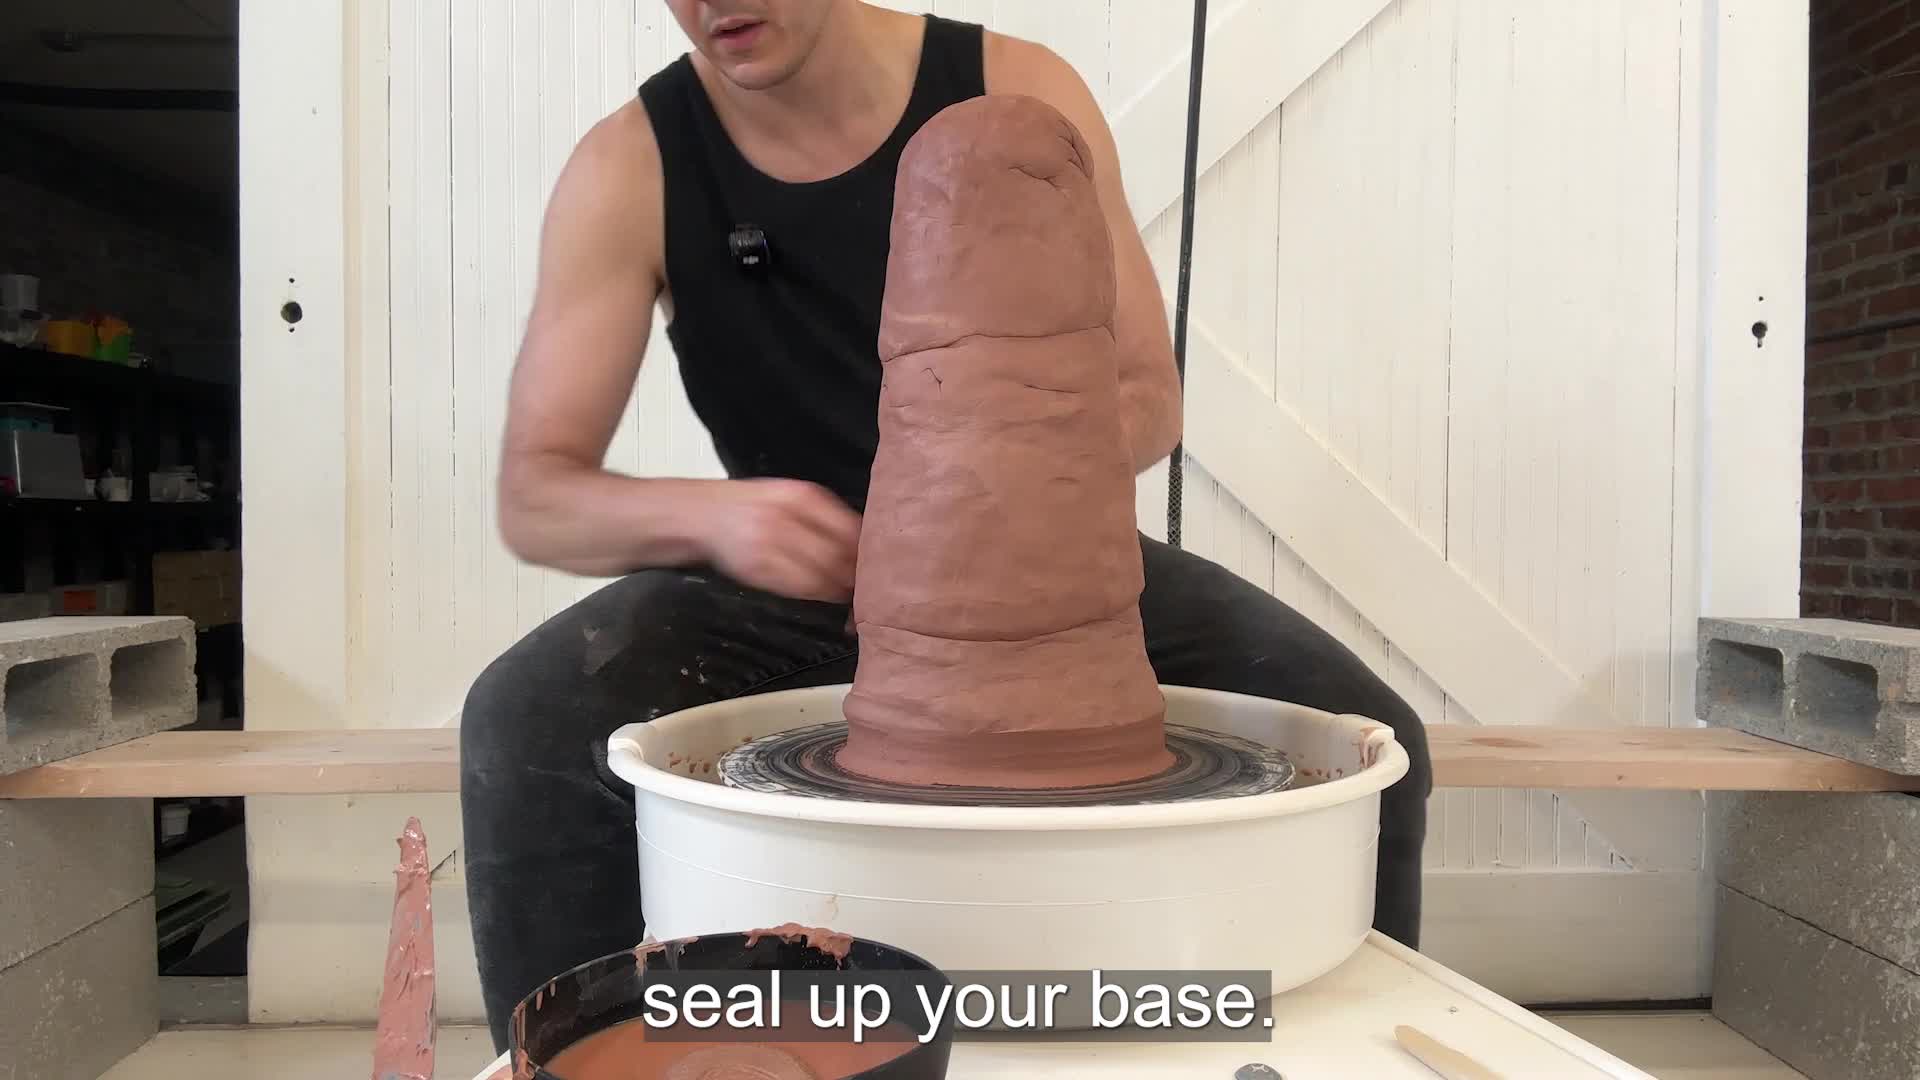
Recentering Sample Video
JOIN SHINO TIER
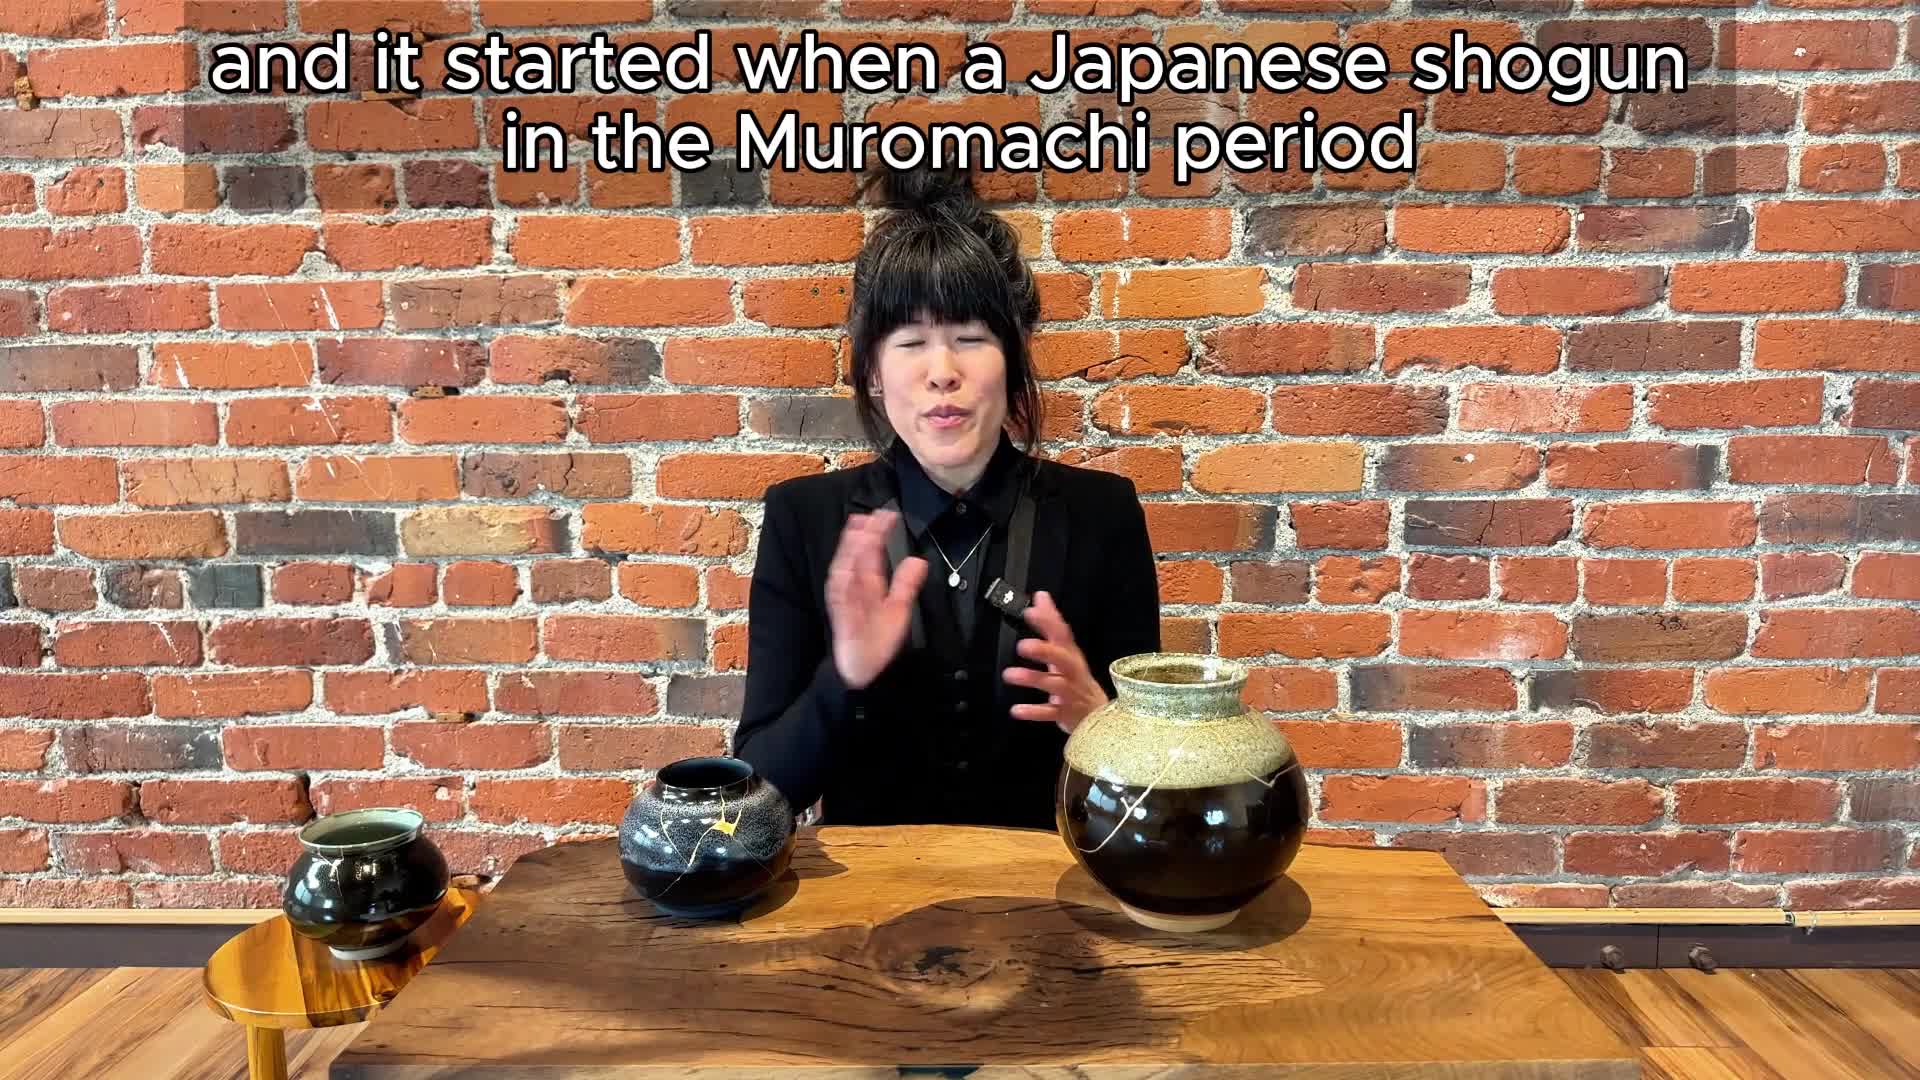
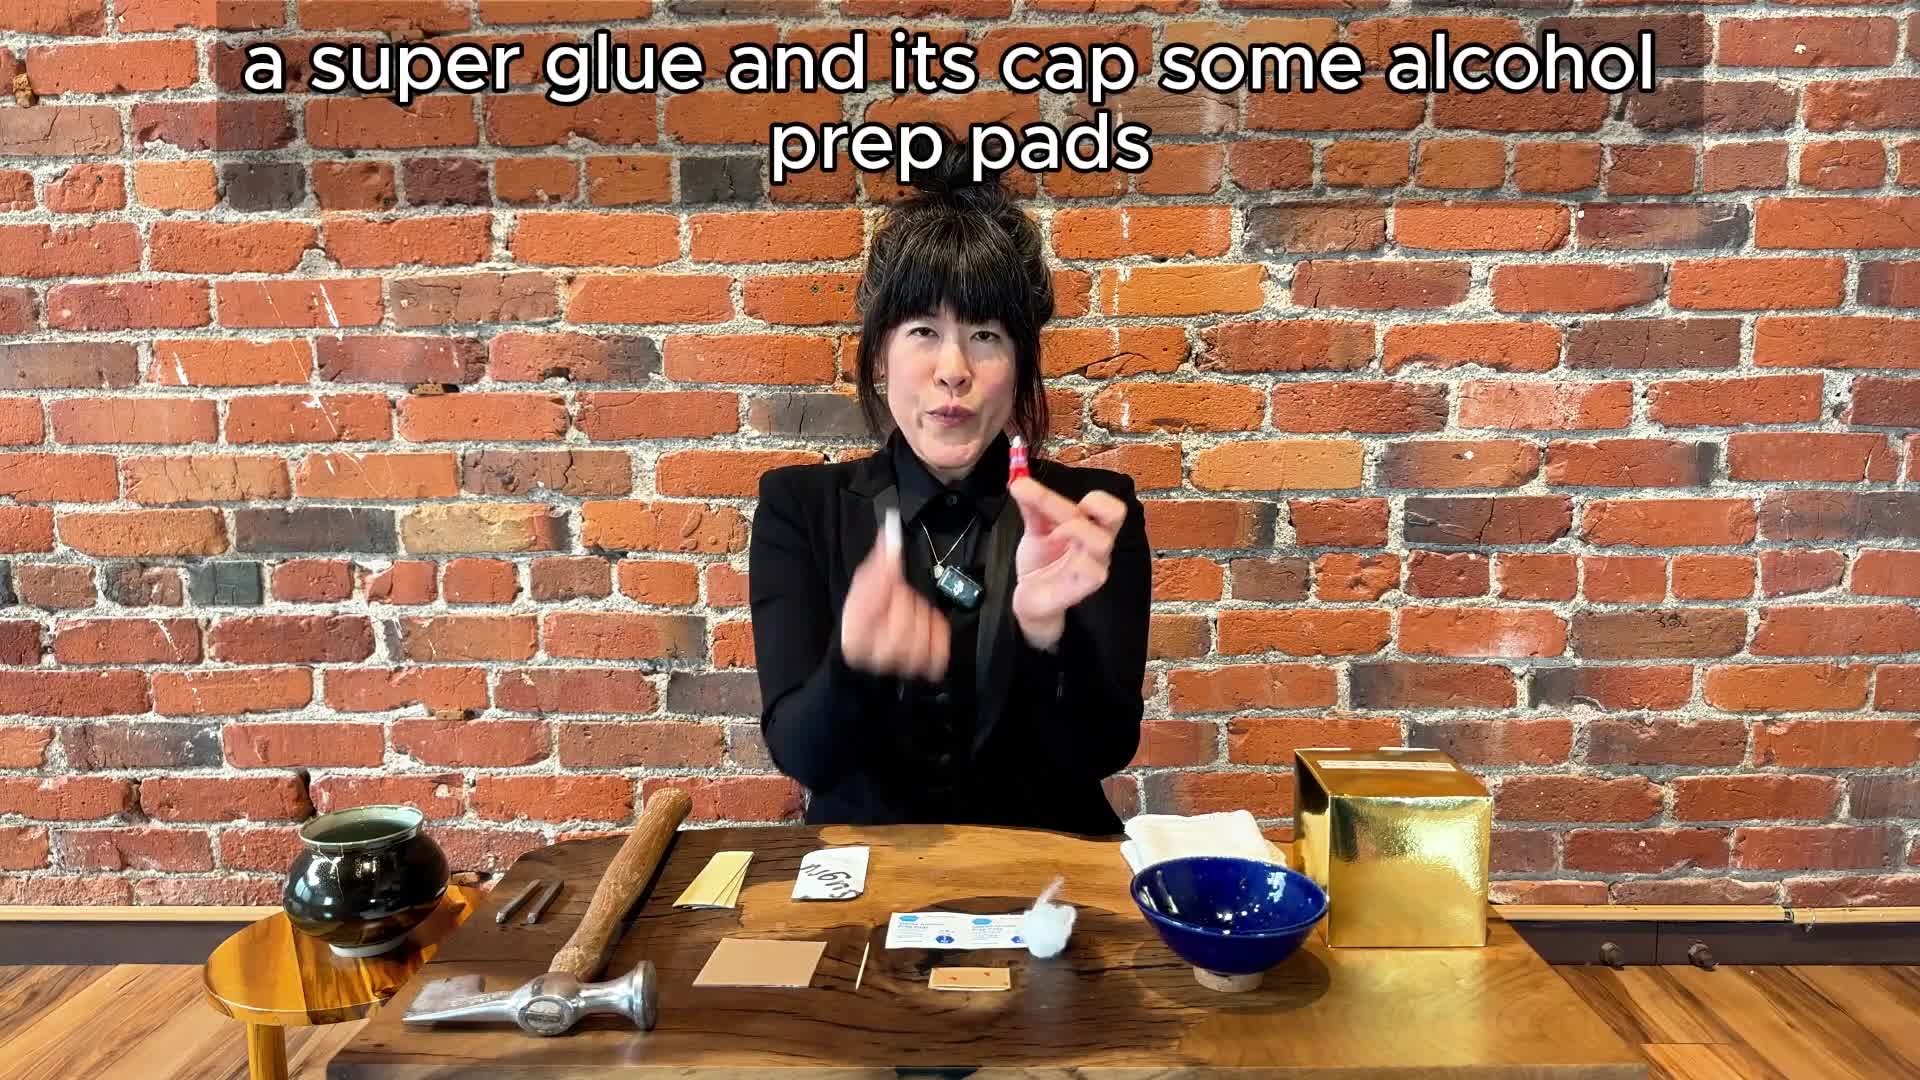
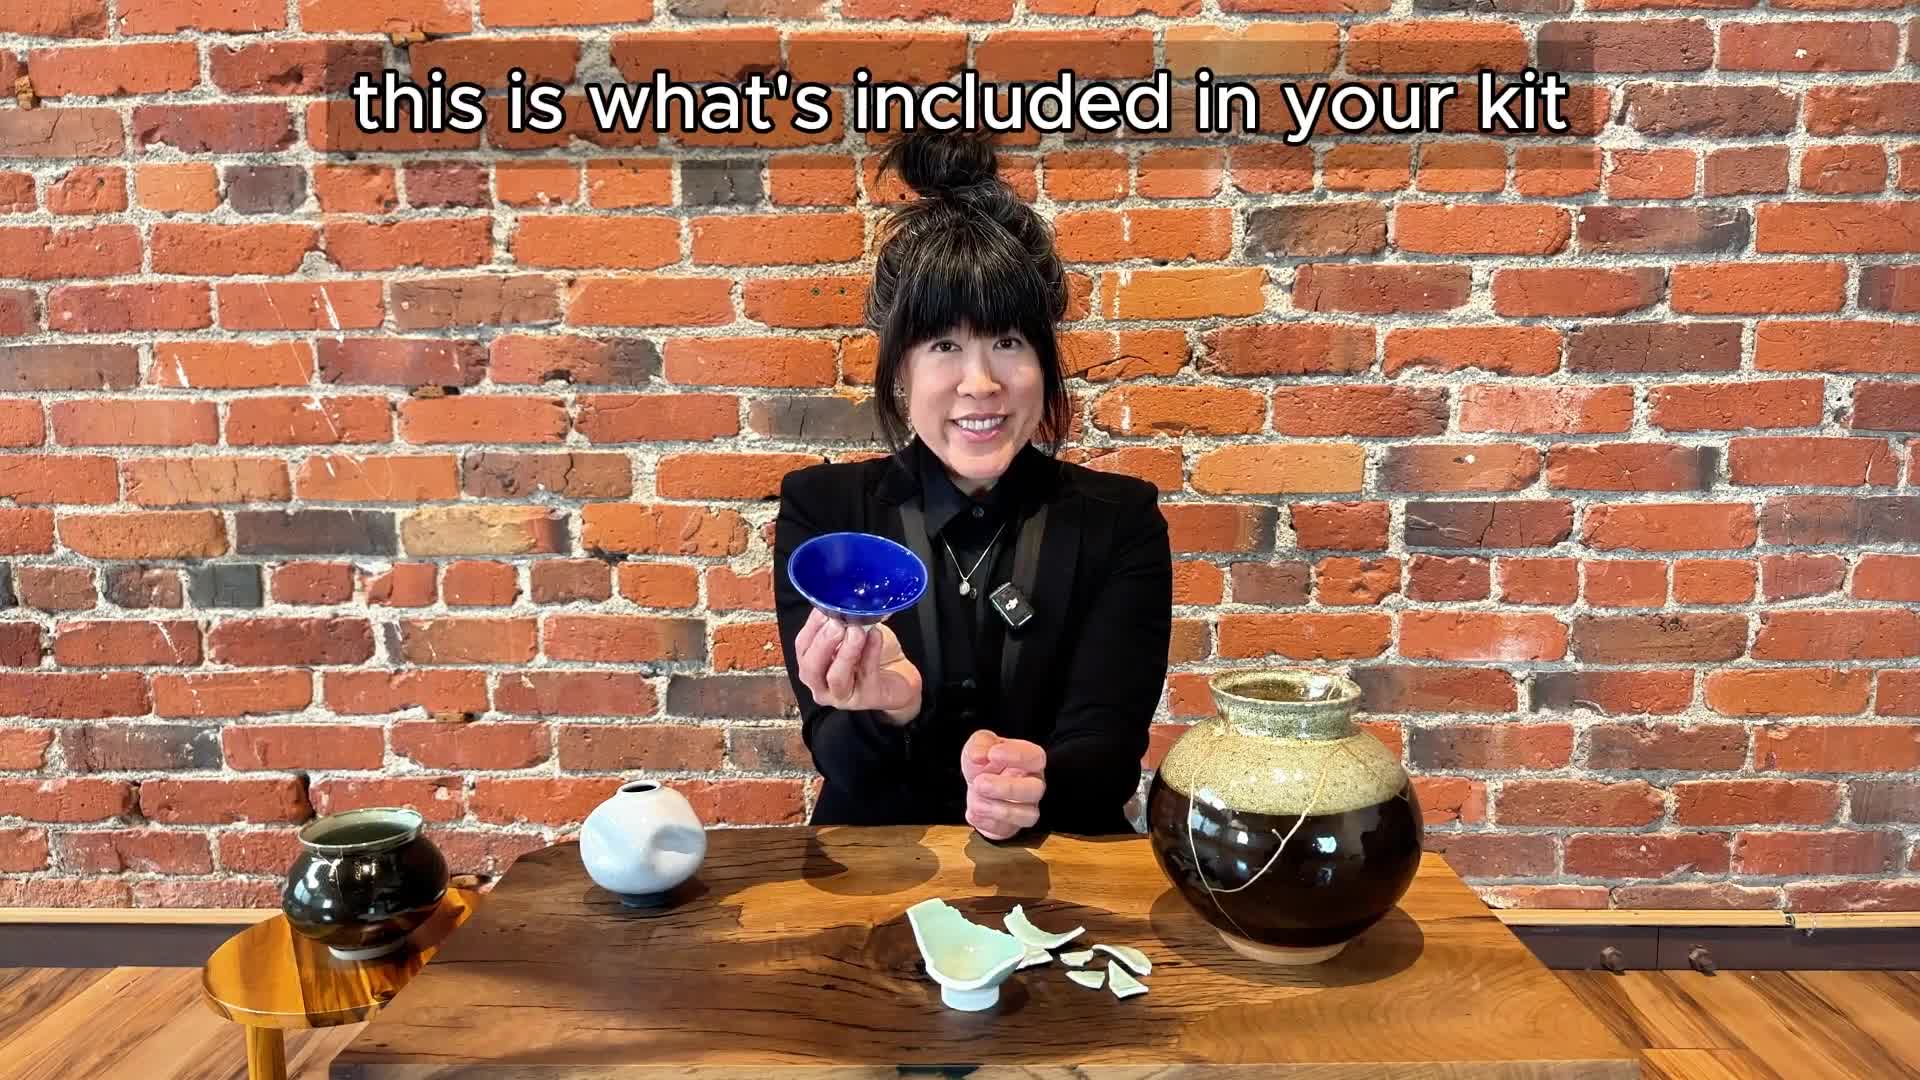
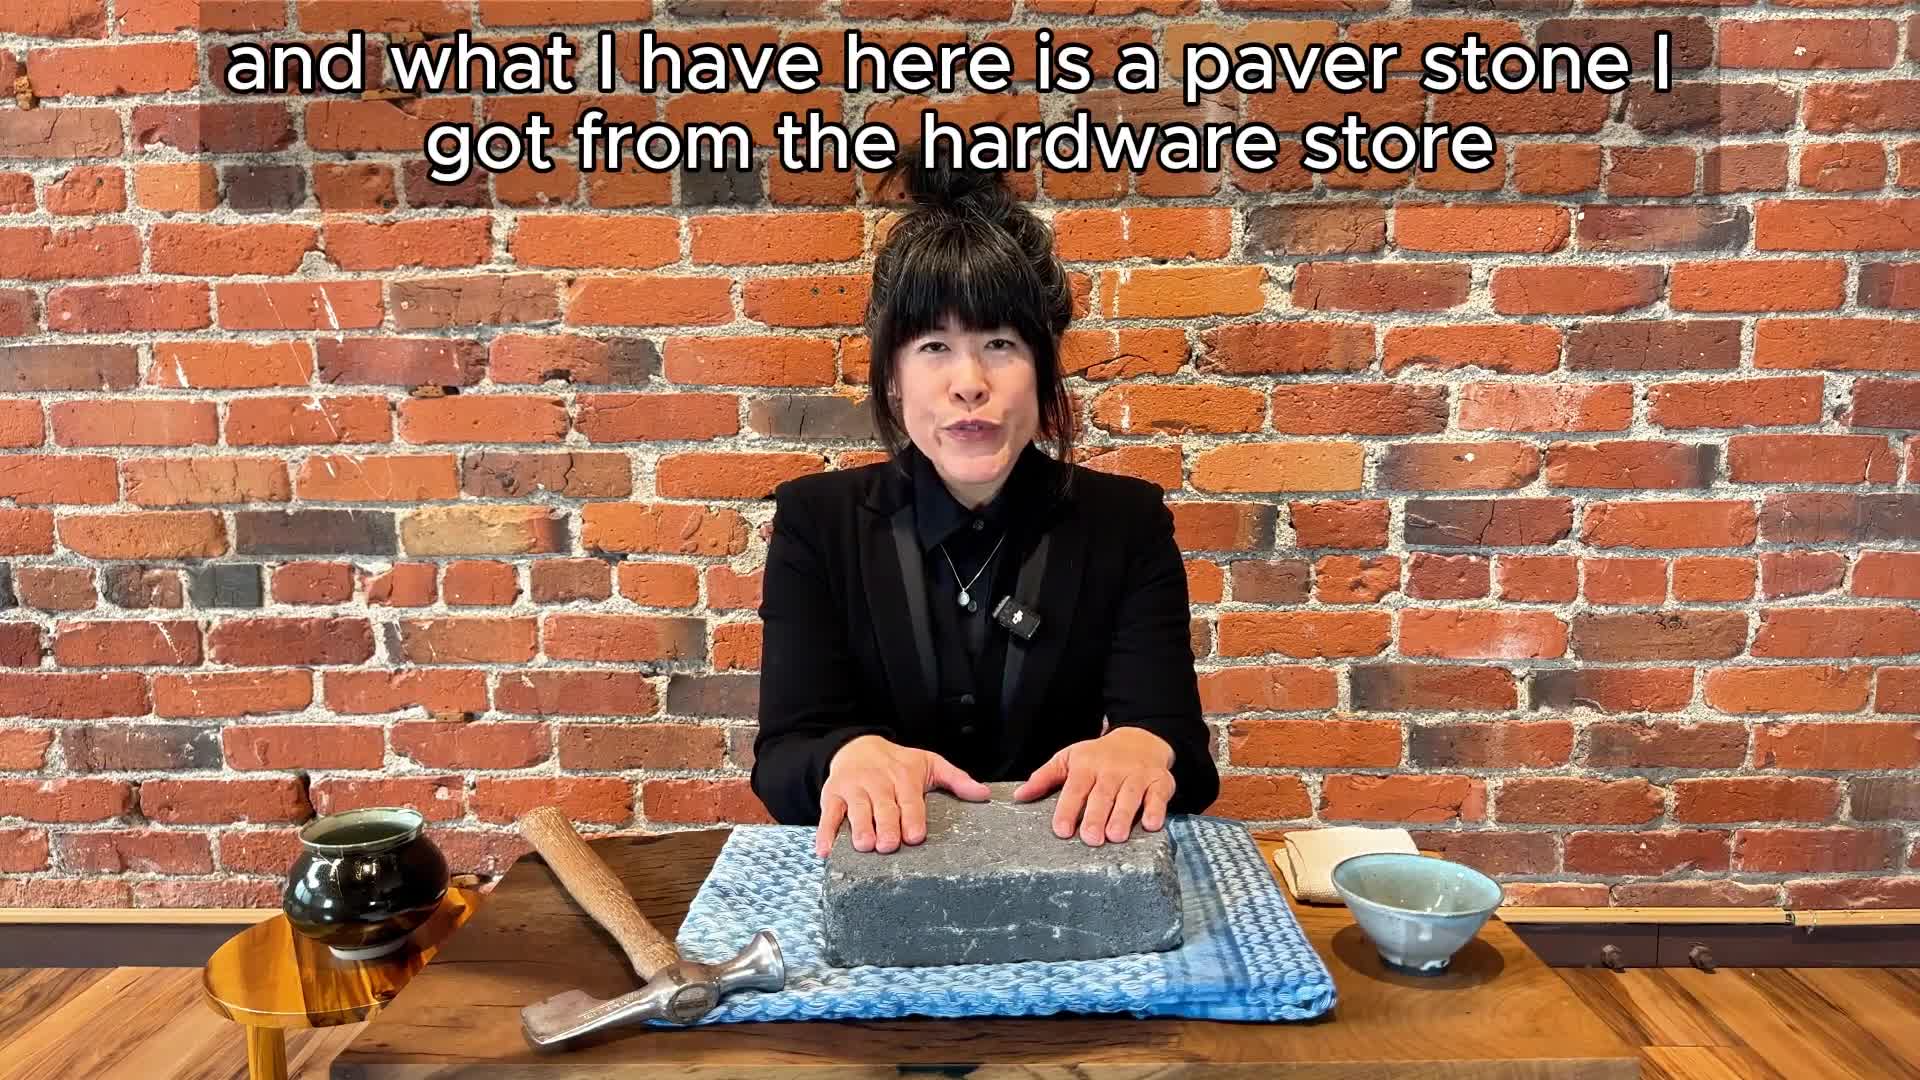
Kintsugi Sample Video

Our Most Popular Videos
Advanced Throwing

Kintsugi with Jen Lo
Beginners Throwing

Club Mud members enjoy access to exclusive content tailored to their membership tier
Kaolin Tier
Kaolin Tier members unlock access to our comprehensive text knowledge base, which includes:
How-to guides
Troubleshooting resources
Ceramic history
A glossary
Tips and tricks
A template library
Shino Tier
Shino Tier members gain access to everything in the Kaolin Tier, plus:
An ever-growing library of instructional videos taught by professionals. These cover beginner to advanced topics, including hand-building, throwing, decoration, and niche techniques like Kintsugi.
Exclusive access to the Club Mud Store, featuring bespoke items such as Kintsugi kits and handmade or hard-to-find tools.
Blue Celadon Tier
For those who want to go above and beyond, Blue Celadon Tier members provide additional support for our work. As a thank-you, they:
Join our Wall of Thanks and receive recognition at the end of videos produced during their membership.
Can optionally request to add a hyperlink to their website on our wall of thanks
Kaolin Tier Knowledge Base

JOIN CLUB MUD KOLIN TIER
Sample from Knowledge Base:
Glaze Defects Troubleshooting
Crawling - adhesion issue
Identify: Glaze separates and pulls back into islands, leaving bare patches of clay showing through.
Cause: an adhesion issue caused either by too many absorptive ingredients in a glaze, an issue with the bisque piece's surface, or too thick glaze application. The glaze pulls away from both itself and the pot while drying, and this separation is revealed after firing.
Note: if you are using communal studio or factory made glazes, overly thick application or dust/oil/burnishing on your bisque are the most likely causes.
Solutions:
Clean dirty bisque with damp sponge before glazing, and ensure newly-cleaned bisque is fully dry before applying glaze
ensure glaze is thoroughly mixed before applying-- consider adding bentonite for better suspension.
Thin out the glaze or apply more thinly.
do not overly burnish surfaces which are meant to have glaze on them (the smooth surface repels glaze rather than joining with it)
If the above do not work, adjust glaze recipe to have fewer hydrophilic ingredients (e.g. substitute some calcined kaolin for regular)
The inverse of the last point can be true too-- not enough fine powders in the glaze creating a bad drying-bond. adjust accordingly based on your recipe.
Shivering - fit issue
Identify: Small, razor-sharp flakes of glaze detach from the pot during cooling or soon after firing.
Cause: The glaze shrinks less than the clay body as it cools,. This is a mismatch in thermal expansion coefficients (how much a material will grow or shrink when its temperature changes) between the clay body and glaze, usually the glaze having a lower expansion than the clay body, causing it to chip off.
Solutions:
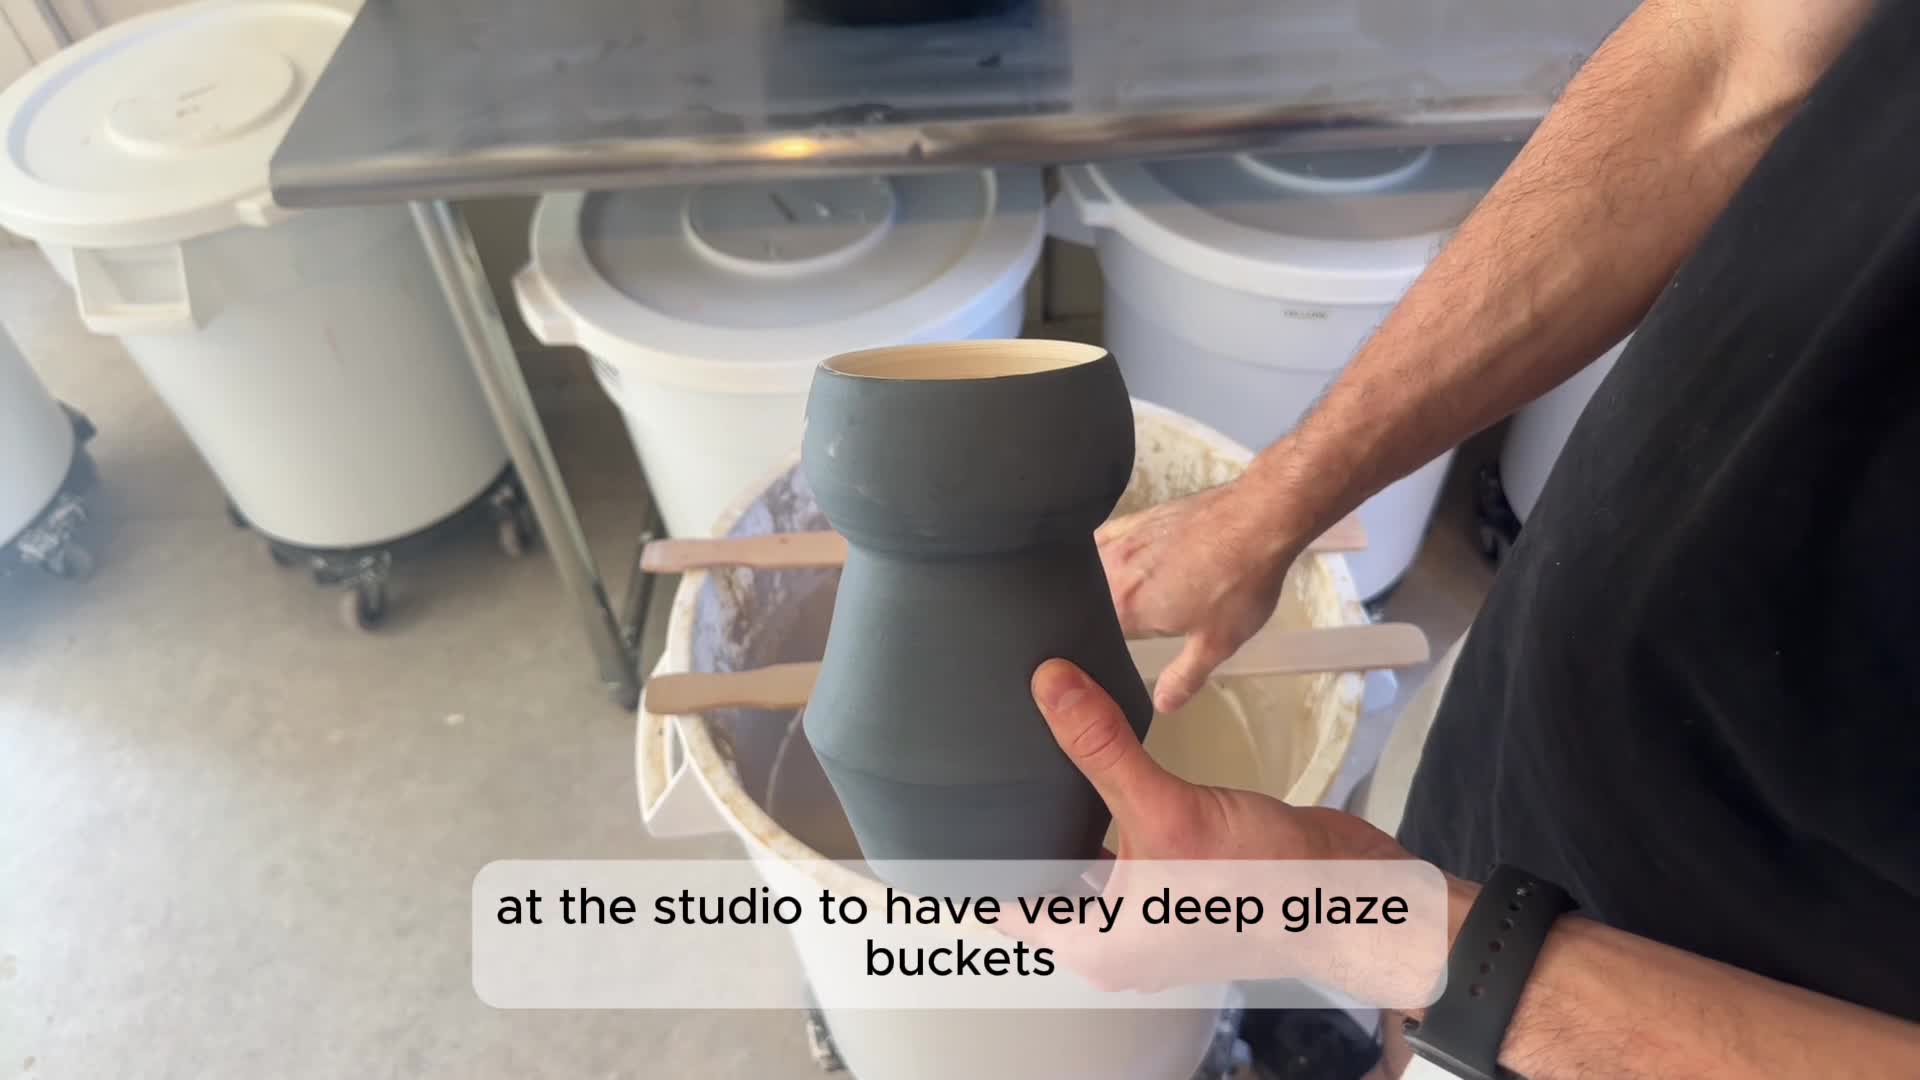
ensure thoroughly mixed glazes-- many shivering glazes in communal studios require heavy materials that have sunk to the bottom of the glaze bucket in order to melt correctly.
Reformulate the glaze to increase its thermal expansion.
Adjust silica/alkali ratios. Use more alkalis (like sodium or potassium oxides) and other fluxes that push the glaze’s expansion higher by disrupting the silica network and allow for more movement as temperatures change.
Use Different Fluxes: Some fluxes (e.g., lithium, sodium, potassium) tend to produce higher expansion glazes. Adjusting which fluxes you rely on can raise the overall expansion.
Incorporate Other Network Modifiers: Changing the balance of boron or alumina can also shift thermal expansion properties. Boron, for instance, can lower expansion if used heavily, while certain other oxides can raise it. Alter Frits and Materials: Substituting certain frits or raw materials with higher-expansion equivalents can make a difference. Firing Schedule Adjustments: Though less direct, how you fire (soaking at peak temperature or altering cooling speeds) can sometimes mitigate stress between glaze and body. Use a clay body with more compatible expansion.
Slightly lower firing temperatures to achieve a better fit.
Crazing - fit issue
Identify: A network of fine, hairline cracks in the glaze surface that may appear immediately after firing or over time.
Cause: The opposite of shivering. The glaze shrinks more than the clay body as it cools, resulting in tensile stress that leads to cracking. Often caused by a glaze with a higher coefficient of thermal expansion than the clay body.
Solutions:
Adjust the glaze recipe by adding silica or alumina to reduce its expansion.
Select a clay body that better matches the glaze.
Try slower cooling cycles.
Lower flux content if necessary.
Running - flux issue
Running:
Identify: Glaze melts excessively and flows downward during firing, leaving thick runs and thin spots, often pooling at the base of vertical surfaces.
Cause: Overly fluid glaze recipe, excessive flux, too high firing temperature, or overly thick glaze application.
Solutions:
Reduce fluxes in the glaze formula.
Lower firing temperature.
Apply the glaze more thinly.
Add stabilizing materials like clay or alumina to the glaze to reduce flow.
Matte or Dull Surface (when gloss is intended) - flux issue
Identify: Glaze surface that appears flat, dull, or satin where a glossy finish was expected.
**Cause: **The opposite of running. Underfiring, insufficient fluxes, improper final soak time, or imbalanced glaze chemistry. Sometimes impurities or kiln atmosphere variations also play a role.
Solutions:
Adjust firing temperature or soak time to reach correct temperature thought kiln-- monitor a few firings with cones at each level if this is the suspected issue.
Increase flux levels slightly.
Ensure glaze formulation is balanced for desired gloss.
Maintain consistent kiln atmosphere and heating profiles.
insufficient silica (glass former) content. glazes intended to be glossy should already have enough, but it's worth ensuring the recipe you're using can turn glossy in the first place.
Pinholing / Pitting - firing issue, surface, or formulation issue
Identify: Small holes or pits on the glaze surface that may appear as tiny craters or bubbles that have burst.
Cause: Gases released from the clay body or impurities in the glaze during firing, insufficient soaking time at peak temperature, or overly fast firing/cooling cycles can prevent gases from escaping smoothly.
Solutions:
Lengthen the soak at peak temperature.
Adjust glaze or clay formulation to reduce off-gassing ingredients.
Ensure proper bisque firing to burn out organics.
Drop and hold firing cycles
Slower glaze firing and cooling
Trimmed surfaces on some clays will pinhole as slip on the thrown surface had been acting as a filter to disperse gases. Trimming wetter, slightly burnishing a thrown surface with a silicon rib or even reapplying a thin slip can help if the issue is severe.
Thinner layer of glaze
Add a small amount more flux to create a more fluid glaze
Blistering / Bubbles
Identify: Slightly raised, round bumps on the glaze surface that may collapse into large pinholes, creating a rough, uneven texture.
Cause: Like a more extreme version of pin-holing. Gas builds up under the surface tension of a melted glaze. Excessive gases released from body or glaze materials at maturation temperatures, over-fluxed glazes, firing too high or too quickly, and improper venting of the kiln atmosphere.
Solutions:
Lower firing temperature or slow the firing schedule.
Vent kiln properly.
Reduce flux content.
Reformulate the glaze to produce fewer gases or with fluxes that melt later in firings.
Ensure the bisque is fully matured.
drop and hold firing to heal over blisters.
if using a gas kiln, start reduction 1-2 cones higher than bisque.
Peeling / Flaking
Identify: Entire flakes of glaze lifting and peeling off the pot’s surface, generally before firing.
Cause: Poor adhesion due to dusty bisque, oily residues, or incompatible shrinkage rates between the glaze and body. May also occur if the glaze has too much clay content and shrinks excessively.
Solutions:
Clean bisque thoroughly, and dry completely before applying glaze
Reformulate glaze to reduce shrinkage.
Ensure proper fit with the clay body.
Avoid applying excessively thick coats.